


FAQ – Fitting and Using Bicycle Panniers, Dry Bags and Handlebar Bags
How should you fit and use bicycle panniers, dry bags and handlebar bags? This FAQ explains how to check rack compatibility, adjust the hooks and lower retainer, distribute the load, protect your belongings from water and prepare a loaded bicycle for safe riding.
You will also find practical information about cleaning and storage, securing dry bags to a rack and the effect of a handlebar bag on steering. If you are still choosing a capacity or model, read our guide to which bicycle panniers to choose.
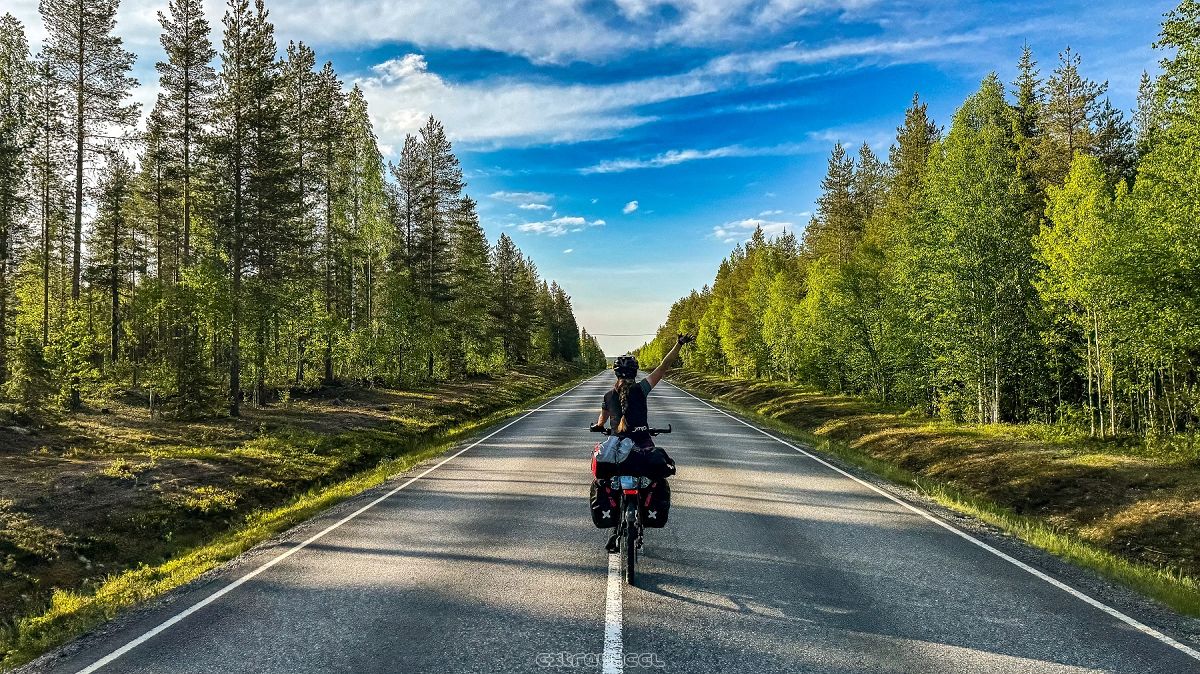
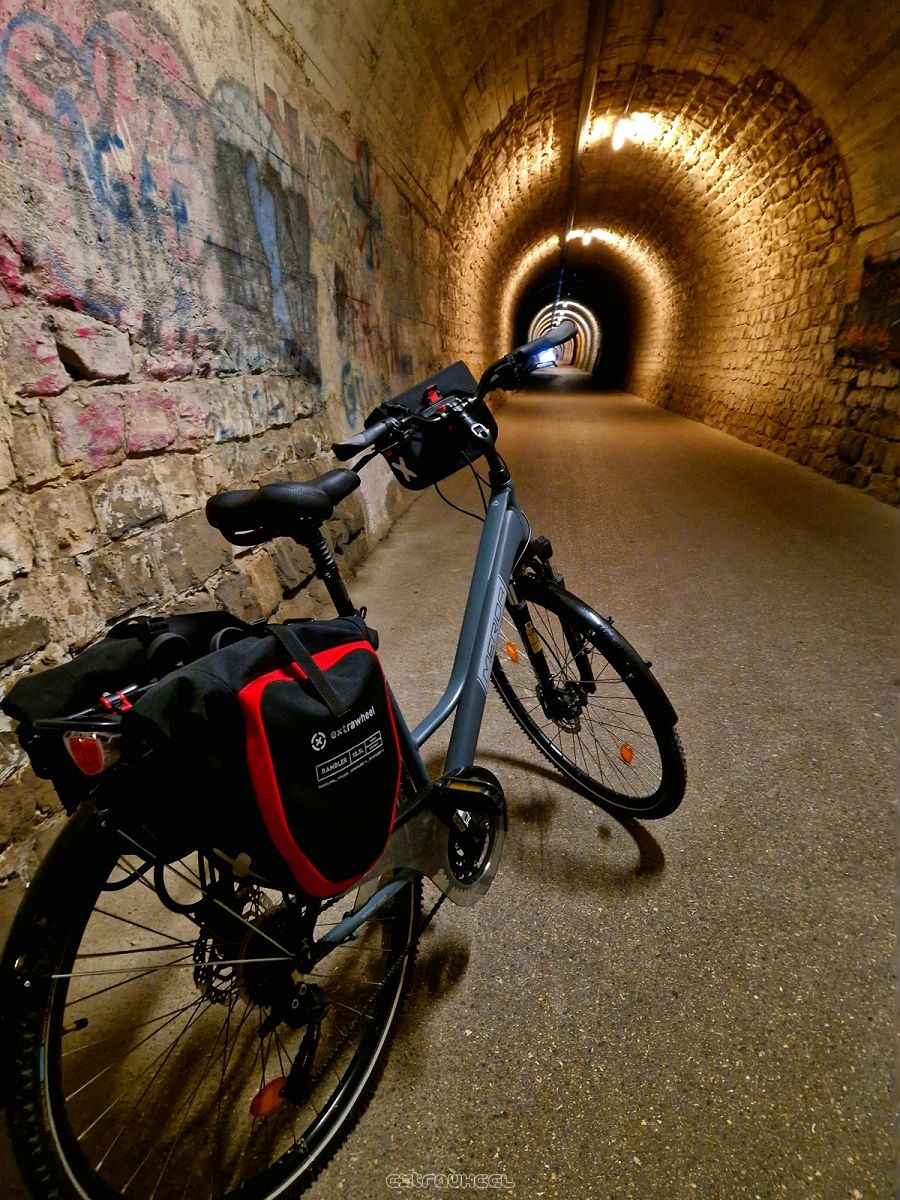
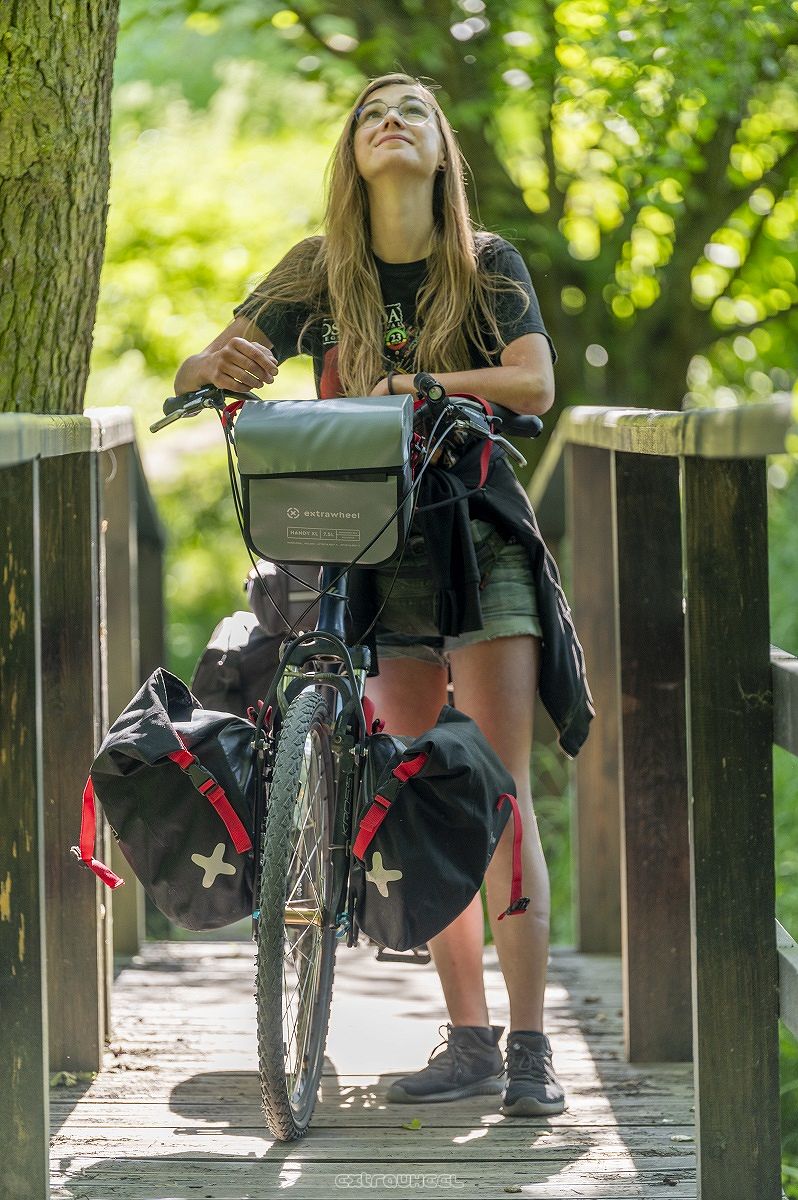
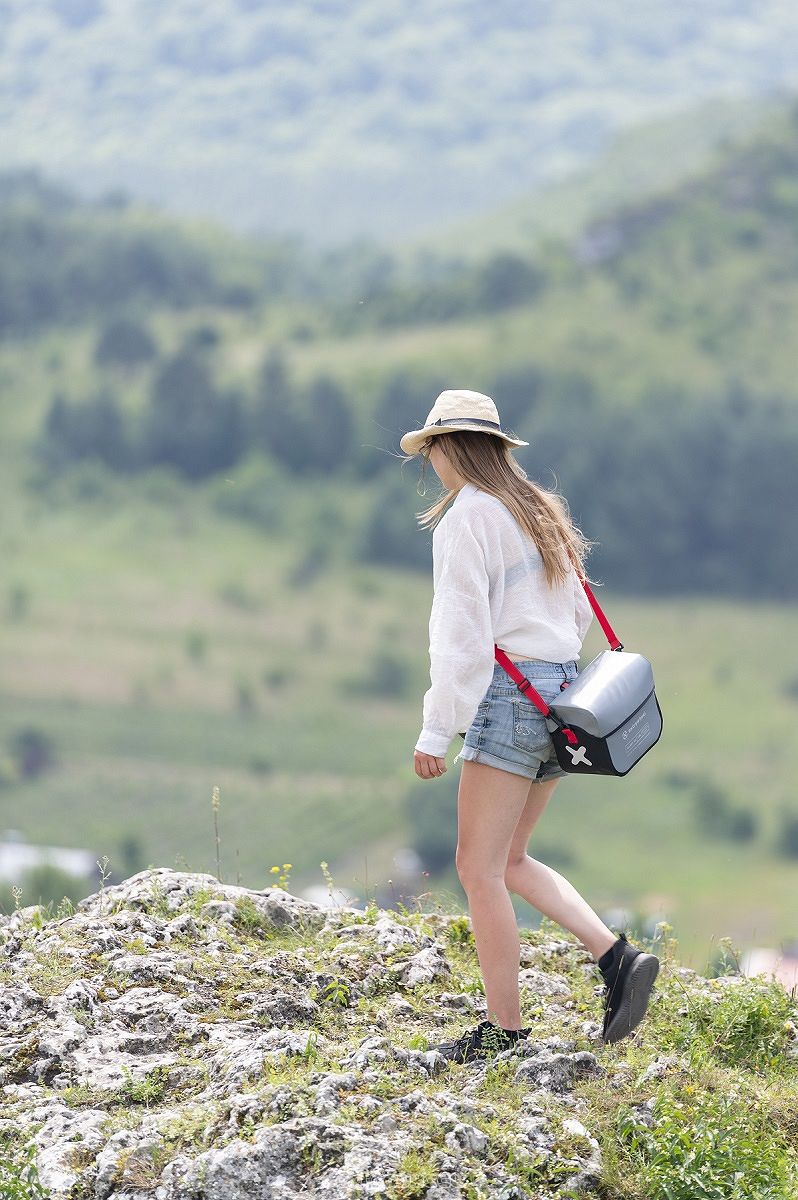
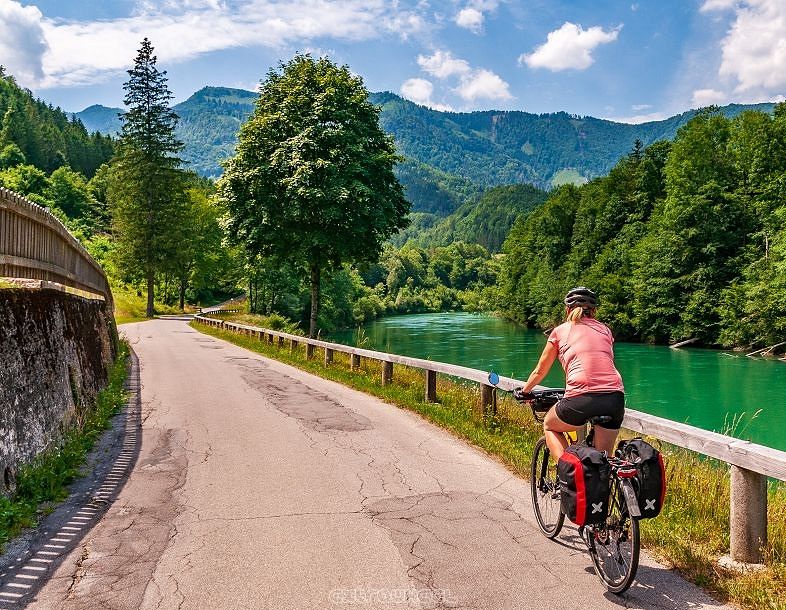
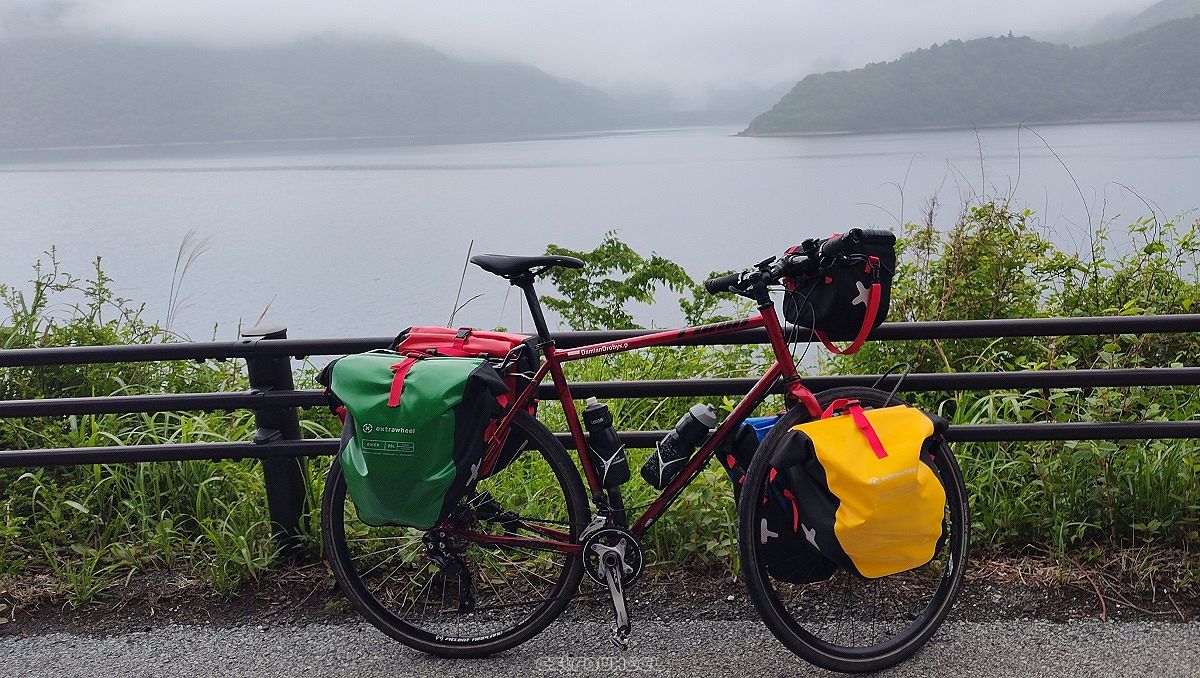
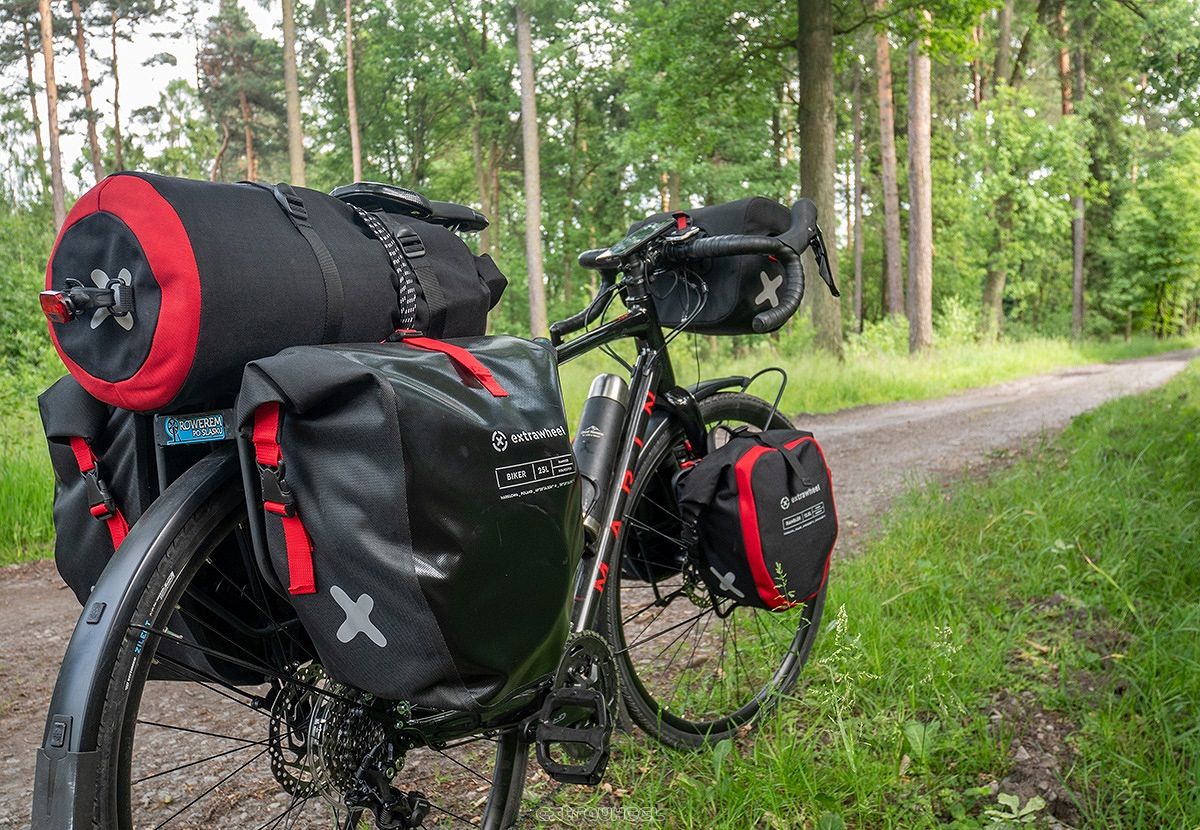
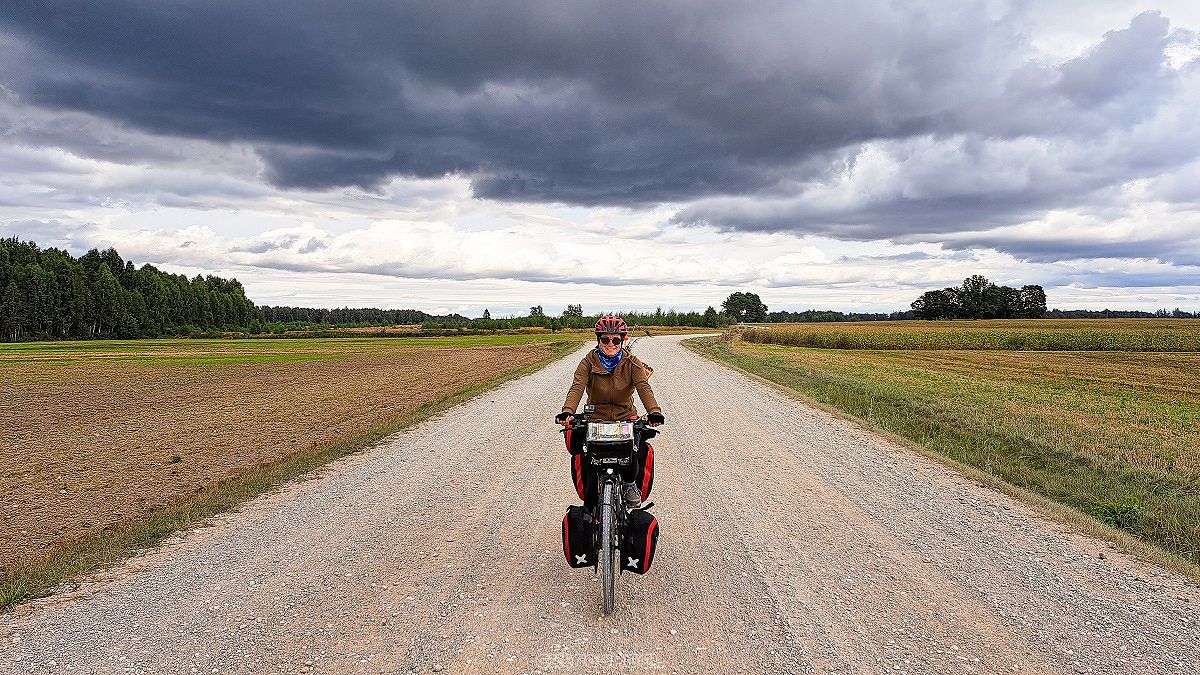
The short answer: safe use of a bicycle luggage system starts with checking that every mounting component is compatible with the bicycle and rack. Panniers must be securely attached, the heaviest items should be carried low and the load should be shared between both sides. Dry bags and handlebar bags must be prevented from moving or contacting a wheel, cables, brakes or steering controls.
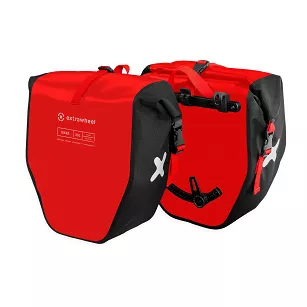
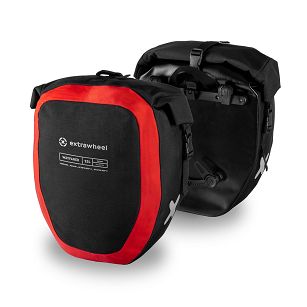
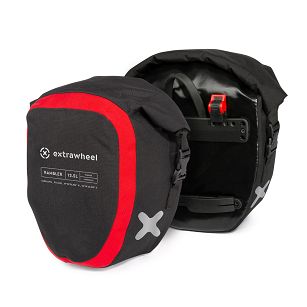
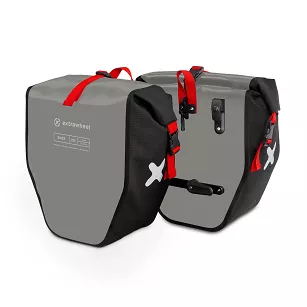
This FAQ answers practical questions about fitting, loading, waterproof protection, cleaning and servicing bicycle luggage. Current models, capacities and technical specifications are available in the bicycle panniers for racks category. Before buying, always compare the specifications of the individual product with your bicycle and rack.
Last updated: 21 August 2026.
Fitting panniers and checking rack compatibility
Do all bicycle panniers fit every rack?
No. Bicycle panniers are not automatically compatible with every rack. Before buying or fitting them for the first time, compare the pannier mounting system with the dimensions and tube layout of the specific rack.
Check the following points:
- the diameter of the tubes that will carry the upper hooks,
- the spacing and position of the upper hooks,
- the length of straight rack tube required for both hooks,
- whether the lower retainer can engage with a vertical or diagonal rack stay,
- clearance from the wheel, brake, mudguard and cables,
- enough heel clearance throughout the pedal stroke,
- the rack load limit and the permitted load of the pannier.
An adjustable mounting system increases the range of possible fits, but it does not guarantee compatibility with every rack. Always compare the measurements listed on the product page with your own bicycle.
How do you check whether a pannier is compatible with a rack?
The most reliable method is to take several measurements before buying. Use callipers for the rack-tube diameter and a tape measure for the available space and the position of the stays.
- Measure the diameter of the upper rack tube.
- Measure the straight section available for both upper hooks.
- For fixed hooks, compare their spacing with the rack stays and platform.
- Identify a secure contact point for the lower stabilising retainer.
- Check that the pannier will not obstruct a brake, rear light or reflector.
- Rotate the cranks and confirm that your heel will not strike the pannier.
- Compare the rack load rating with the expected total luggage weight.
If you are unsure, photograph the rack from the side and from above and record the measurements. This makes it easier for the manufacturer or retailer to assess compatibility.
What is the difference between fixed and adjustable pannier hooks?
Fixed hooks have a factory-set position, while hooks fitted to an adjustable rail can be moved within a specified range.
A fixed position simplifies the mounting assembly but requires careful comparison with the rack. An adjustable rail makes it easier to use a pannier on different bicycles, but you must still check tube diameter, room for both hooks, lower-retainer position, heel clearance and the rack load limit.
The product page should identify the mounting system and its adjustment range.
How do you fit a bicycle pannier correctly?
Fit and adjust the pannier while it is empty. This allows you to test the mounting system before it is placed under load.
- Place the upper hooks on the correct rack tube.
- Confirm that the hook-locking mechanism has fully engaged.
- Position the lower retainer against a stable rack stay so that it restricts forward, backward and sideways movement.
- Pull the pannier gently upwards and sideways to check that it cannot release unintentionally.
- Check clearance from the wheel, brakes, mudguard, cables, crank and heel.
- Add the luggage only after this inspection, then check the mounting again under load.
Mounting and locking procedures vary between systems. The instructions supplied with the individual model take priority over general advice. Available support materials can be found on the user manuals and video instructions page.
How should the lower pannier retainer be adjusted?
The lower retainer should restrict the pannier from moving forwards, backwards or away from the rack. Position it against a stable vertical or diagonal stay without distorting the pannier and without allowing any contact with the wheel.
After adjustment:
- move the bicycle and check that the pannier does not swing,
- make sure the retainer cannot slide off the selected stay,
- check that all adjustable components are secure,
- complete a short test ride and inspect the setting again.
If the retainer has no suitable contact point, the pannier may strike the rack or wheel. Do not replace the correct mounting arrangement with improvised cords or parts that could loosen while riding.
Can bicycle panniers be fitted to an e-bike?
Yes, provided that the panniers are compatible with the e-bike rack. An integrated battery, electrical cables, unusual rack stays or a second lower rail can reduce the available mounting space.
Before fitting the panniers, check:
- rack-tube diameter and layout,
- access to the battery lock, charging port and removal mechanism,
- the route of electrical and brake cables,
- the position of the rear light and reflectors,
- the rack load limit specified by the bicycle manufacturer,
- clearance from the heel and rear wheel.
A pannier must not rest against the battery, compress cables or prevent the battery from being removed.
Can panniers be fitted to a front rack?
Yes, but only when the manufacturers of both the pannier and the front rack permit that use. A suitable lowrider rack and smaller universal panniers are commonly used.
Front panniers must remain clear of the wheel, brake, fork and cables and must not restrict steering. With a significant front load, use two panniers and divide the luggage between both sides.
Can a pair of bicycle panniers be used one at a time?
Yes, if the set consists of two independently mounted panniers. A single pannier can be convenient for commuting, shopping or a short ride with a light load.
Remember that an uneven load can be felt while riding, pushing or lifting the bicycle. The effect increases with weight. Large or heavy loads are better divided between two panniers.
Load distribution and bicycle handling
Do bicycle panniers affect handling?
Yes. Any additional luggage changes the bicycle’s mass, braking distance and response. The effect can be reduced by placing heavy items low, close to the wheel axis and by carrying similar loads on the left and right sides.
Correctly fitted panniers are generally more stable than a heavy load stacked high on top of a rack. This does not mean that a loaded bicycle will handle exactly like an unloaded one.
When riding with luggage, start more slowly, brake earlier and take extra care on bends, descents and uneven surfaces.
Does riding with one pannier affect steering?
Yes, although the change is usually easy to manage with a light load. The imbalance becomes more noticeable with greater weight, while pushing the bicycle, during quick manoeuvres and on rough ground.
When using one pannier:
- place heavier items low and close to the rack,
- avoid overloading one side,
- check that the lower retainer is secure,
- complete a test ride before a longer journey.
How should weight be distributed between bicycle panniers?
Place dense and heavy items as low and as close to the bicycle as possible. Lightweight, bulky equipment can be stored higher up.
A practical starting point is:
- low in the panniers – tools, food, a stove and other heavy items,
- higher up – clothing, sleeping equipment and lighter items,
- within easy reach – waterproof clothing, a first-aid kit and items needed during stops.
The two sides do not need to weigh exactly the same, but a large difference can impair handling. For a detailed method, see our guide to properly packing bicycle panniers.
How many kilograms can bicycle panniers carry?
The safe limit is determined by the weakest part of the complete system: the pannier, hooks, rack or bicycle. There is no single load figure that applies to every setup.
Before loading, check:
- the permitted load of the individual pannier or pair,
- the maximum load rating of the rack,
- limits specified by the bicycle manufacturer,
- whether the rack rating includes the weight of the rack and bags themselves.
If the rack manufacturer specifies a lower limit than the pannier manufacturer, the lower value applies.
Why does a pannier move or knock against the rack?
The most common causes are poorly matched upper hooks, an incorrectly positioned lower retainer or a loose adjustment component.
Check:
- whether the hook diameter matches the rack tube,
- whether the correct inserts or adapters have been installed,
- whether the upper hooks are fully locked,
- whether the lower retainer engages with a stable stay,
- whether the rail and retainer fasteners are secure,
- whether any part is cracked, deformed or excessively worn.
Stop using the pannier if a hook lock, rail or retainer is damaged. Repair or replace the affected component before riding again.
How should panniers be prepared for the first ride?
Fit the panniers empty, then add the load gradually. Complete a short test ride before setting off on a longer journey.
During the test, check that:
- the panniers remain stable while starting and braking,
- your heels do not strike the bags,
- nothing touches the wheels, brakes or mudguards,
- lights and reflectors remain visible,
- the bicycle responds predictably,
- the mounting components remain secure after the first few kilometres.
Waterproof protection and keeping luggage dry
What is the difference between waterproof and water-resistant bicycle bags?
Water-resistant usually describes limited protection from rain and splashes, while waterproof describes a construction designed to provide a higher level of protection when correctly closed. The exact meaning should be established from the manufacturer’s information for the individual product.
Protection depends on more than the outer fabric. It is also affected by:
- the method used to join the panels,
- seam sealing or welded construction,
- the design of the closure,
- the number and quality of roll-top folds,
- the condition of the fabric, buckles and joints.
Our technical article explains how HFW welding works in bicycle panniers and why it matters.
How do you close a roll-top pannier correctly?
Roll the closure according to the instructions for the individual model, then fasten the buckles and stabilise the upper part of the pannier.
Before rolling:
- do not overfill the pannier,
- remove objects protruding above the closure line,
- align both edges of the opening,
- expel excess air if the construction allows it,
- make the full, even number of rolls required by the instructions.
Too few rolls, unevenly folded fabric or an object trapped in the closure can reduce protection. If the instructions require four rolls, make four complete folds before fastening the buckles.
Do waterproof panniers need rain covers?
Panniers described by the manufacturer as waterproof generally do not need an additional rain cover when they are undamaged and closed correctly.
Sewn bags or products described only as water-resistant may provide a different level of protection. Check the product page and follow the closing instructions.
Documents, electronics and other moisture-sensitive items should still be placed in a separate sealed bag inside the pannier.
Can a waterproof pannier or dry bag be submerged?
Do not assume that a product is suitable for submersion unless the manufacturer explicitly states this. Protection from rain, road spray and mud is not the same as protection during prolonged immersion.
A roll-top closure may restrict water entry, but it should not be treated as a hermetic closure intended for diving.
How should electronics and documents be protected?
Place electronics, documents and medicines in a separate sealed container inside the pannier or bag. Cameras and other delicate equipment also need impact protection.
A waterproof outer bag does not replace:
- a padded protective case,
- protection from internal condensation,
- securing the contents against movement,
- regular inspection of the closure.
Cleaning, storage and servicing
How should bicycle panniers be cleaned?
Most dirt can be removed with a soft sponge or cloth, lukewarm water and a small amount of mild detergent.
- Empty the pannier and remove loose grit and mud.
- Wipe the surface with a damp sponge.
- Clean carefully around the closure, rails, hooks and lower retainer.
- Remove detergent residue with clean water.
- Leave the pannier open until it is completely dry.
Do not use aggressive solvents, bleach, wire brushes or a pressure washer. They may damage the coating, graphics, seals or mounting components.
Can panniers and dry bags be machine-washed?
Do not machine-wash panniers or dry bags unless the manufacturer of the individual product explicitly permits it. Agitation, spin cycles, heat and strong detergents can damage coatings, welds, seams, buckles and mounting systems.
Hand cleaning with lukewarm water and a soft cloth is the safer method.
How should panniers be dried after riding in rain?
Empty and open the pannier, then leave it to dry in a well-ventilated place. Do not store a damp product in a closed container or keep it tightly rolled before it has dried.
Avoid drying it directly on a radiator, near a naked flame or at very high temperature. Prolonged exposure to intense sunlight can also accelerate material ageing.
How should panniers be stored between seasons?
Panniers should be clean, dry and stored without a heavy load. Leave them slightly open or loosely arranged so that the material is not held in a sharp fold for several months.
Store them in a dry, ventilated place away from:
- heat sources,
- chemicals and solvents,
- sharp objects,
- long-term direct sunlight.
How often should pannier hooks and mounts be inspected?
Inspect the mounting system before a long tour, after very rough riding and whenever the pannier begins to move or make an unusual noise.
The inspection should include:
- the upper-hook locks,
- inserts or adapters matching the hooks to the rack tubes,
- the lower retainer,
- mounting rails and their fasteners,
- screws and adjustment components,
- buckles, straps and reflectors,
- fabric in areas exposed to abrasion.
Do not overtighten fasteners. If the manufacturer specifies a tightening torque, use that value.
Can damaged pannier hooks and retainers be replaced?
Many mounting components can be replaced separately. Before ordering a part, identify the pannier model, rail type, hook version and rack-tube diameter.
Available service components can be found in accessories and spare parts. Do not use a pannier with a cracked hook lock, rail or lower retainer until it has been repaired.
Waterproof dry bags
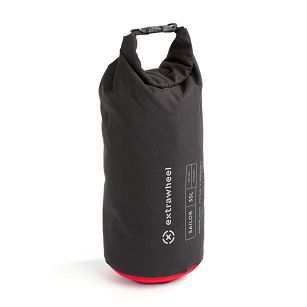
What is a dry bag used for on a bicycle tour?
A dry bag helps protect and separate equipment that is vulnerable to moisture. It can be used inside a pannier, carried as additional luggage on top of a rack or incorporated into a larger luggage system.
Common contents include:
- a sleeping bag and clothing,
- sleeping equipment,
- items that need to be separated from a wet tent,
- spare clothes and towels,
- equipment requiring additional rain protection.
Current sizes and constructions are available in the waterproof dry bags category.
Can a dry bag be secured to a bicycle rack?
Yes. A dry bag can be carried on the top platform of a suitable rack if it is secured against movement and the rack load limit is not exceeded.
Use straps intended for securing luggage. After mounting, check that the bag:
- cannot slide forwards or sideways,
- does not hang towards the wheel,
- does not contact brakes, cables or the rear light,
- has no loose strap that could enter the wheel,
- does not rub against sharp rack edges,
- does not prevent safe mounting or dismounting of the bicycle.
Do not improvise a side-mounted dry-bag arrangement unless the bag has suitable support that prevents contact with the wheel.
How can a dry bag be protected from abrasion?
The bag should rest on a reasonably smooth surface and must not move while riding. Grit trapped between the bag and the rack acts as an abrasive.
Before mounting:
- clean the rack and the underside of the bag,
- remove or cover sharp edges,
- use wide straps that do not cut into the material,
- check strap tension after the first few kilometres,
- inspect all contact areas regularly.
Can a dry bag replace bicycle panniers?
A dry bag on top of a rack can replace panniers for a small amount of lightweight luggage, but it does not provide the same access or weight distribution.
Panniers carry equipment lower and divide it between the two sides of the bicycle. A dry bag is a simple option for light, bulky equipment. Heavy luggage carried high on the rack can make the bicycle feel more prone to swaying.
How do you close a roll-top dry bag correctly?
Do not overfill the bag. Align the opening and make the required number of full rolls before fastening the buckle.
Expel excess air if this can be done without damaging the contents. The material should not be creased, dirty or obstructed by an item projecting through the closure.
Bicycle handlebar bags
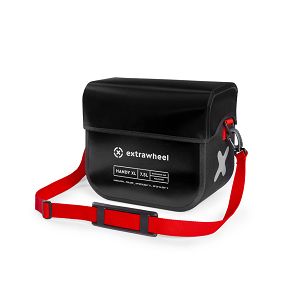
What should be carried in a handlebar bag?
A handlebar bag is best used for light items needed frequently during stops.
Typical contents include:
- documents and a wallet,
- a phone, navigation device and power bank,
- snacks,
- glasses and sunscreen,
- a light waterproof jacket or gloves,
- a small camera in a suitable protective case.
Do not open the bag or remove items while riding. Current models are available in the bicycle handlebar bags category.
Does a handlebar bag affect steering?
Yes. Any additional weight attached to the handlebar affects steering. The change may be small with a light, securely mounted load, but a heavy, wide or loose bag can impair control, particularly at low speed, on descents and over rough ground.
Carry the heaviest equipment lower on the bicycle, for example in panniers or a frame bag. A handlebar bag is primarily intended for light luggage.
How do you check whether a handlebar bag fits a bicycle?
Check the handlebar type and diameter, the mounting-system requirements and the space around cables and controls.
After fitting, make sure that:
- the handlebar can turn fully in both directions,
- brake and electrical cables are not bent, trapped or stretched,
- brake levers and shifters remain fully accessible,
- the bag does not obstruct a light, navigation device or reflector,
- the bag cannot contact the front wheel or mudguard,
- there is sufficient clearance after suspension compression,
- on drop handlebars, the bag does not restrict the available hand positions or brake levers.
Can a handlebar bag touch the front wheel?
No. A safe clearance must remain between the bag and the wheel throughout the full steering and suspension range. Contact between the tyre and the bag or a loose strap could abruptly stop the wheel and cause loss of control.
Check the clearance again after loading because a filled soft bag may sit lower than an empty one.
Can a handlebar bag be fitted to a carbon handlebar?
Only when both the handlebar manufacturer and the mounting-system manufacturer permit it. For bolted mounts, follow the specified mounting position and tightening torque exactly.
Do not increase clamping force to eliminate movement. With strap-mounted bags, keep both the handlebar and the inside of the straps clean because trapped grit can scratch the finish.
Does a handlebar bag protect its contents from rain?
The level of protection depends on the material, the joining method and the closure of the individual model. Water-resistant fabric alone does not automatically make the complete bag waterproof.
Before riding in rain, check the closure method and product information. Protect electronics and documents in an additional sealed inner bag.
Combining panniers, a dry bag and a handlebar bag
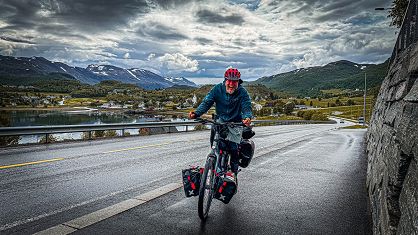
The most suitable arrangement depends on the weight and volume of the equipment and on the bicycle itself. A practical touring setup is:
- panniers: heavier equipment carried low and divided between both sides,
- dry bag on top of the rack: light, bulky items such as a sleeping bag or spare clothing,
- handlebar bag: light essentials needed during stops.
Keep the total load within the limits specified for the bicycle, racks and bags. Nothing may obscure lights or reflectors, interfere with controls or move towards a wheel. A short loaded test ride is essential whenever the configuration changes.
Pre-ride safety check
Before every journey with luggage, check that:
- all upper hooks are locked and the lower retainers are correctly positioned,
- mounting rails, screws, straps and buckles are secure,
- the load is stable and the panniers are not overfilled,
- roll-top closures have been completed as required,
- no bag, strap or loose item can contact a wheel, brake, chain or crank,
- the handlebar turns freely and all controls operate normally,
- lights and reflectors remain visible,
- tyre pressures and braking performance are suitable for the additional load,
- the combined load does not exceed the lowest applicable limit.
Check the mounting again after the first few kilometres and after riding over rough surfaces.
How these answers were prepared
This FAQ was prepared using Extrawheel’s experience in designing, manufacturing and servicing bicycle touring equipment, together with the technical requirements of current product families and practical observations from loaded bicycle travel. Extrawheel has developed bicycle luggage equipment since 2005, and the products discussed here are designed and manufactured in Poland. Learn more on the About Extrawheel page.
The information is general guidance. It does not replace the instructions, load limits or compatibility requirements specified by the manufacturers of the individual pannier, rack, bicycle, handlebar or mounting system. Where the instructions differ, follow the requirements for the specific product.

 Polish
 German
 French