


How to Prepare for a Bicycle Tour? Practical Advice from Damian Drobyk
How do you prepare for a bicycle tour? Route planning, fitness, a reliable bicycle, well-chosen luggage and safety all matter before the first kilometre. Damian Drobyk shares experience gained through many years of bicycle travel and from using Extrawheel equipment since 2010.
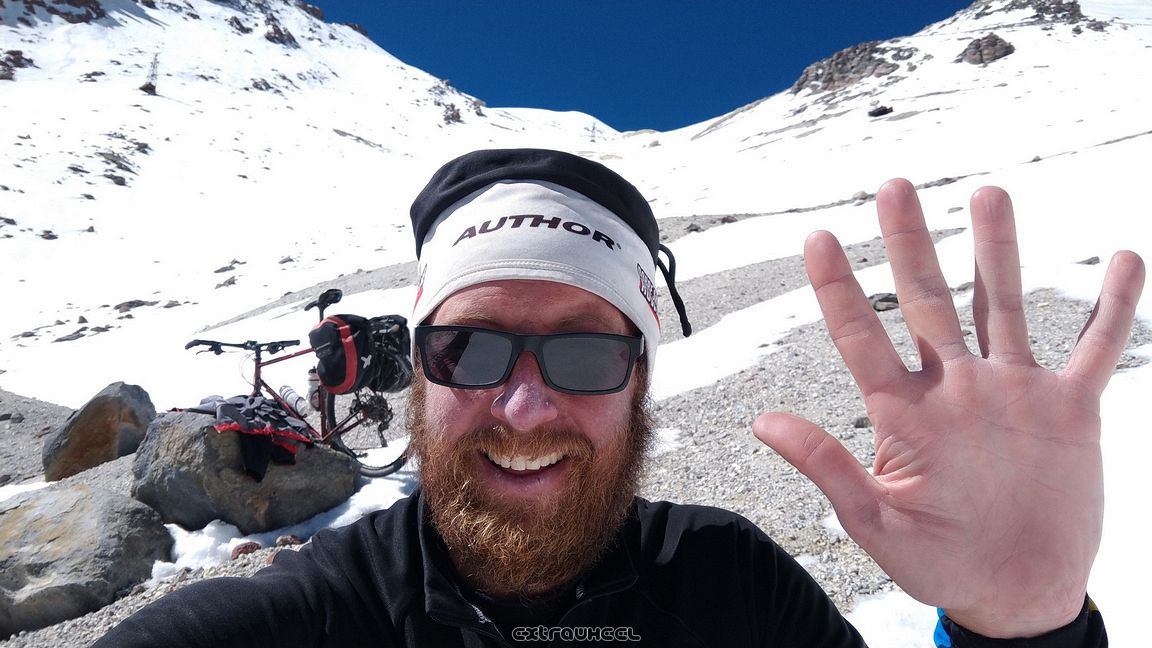
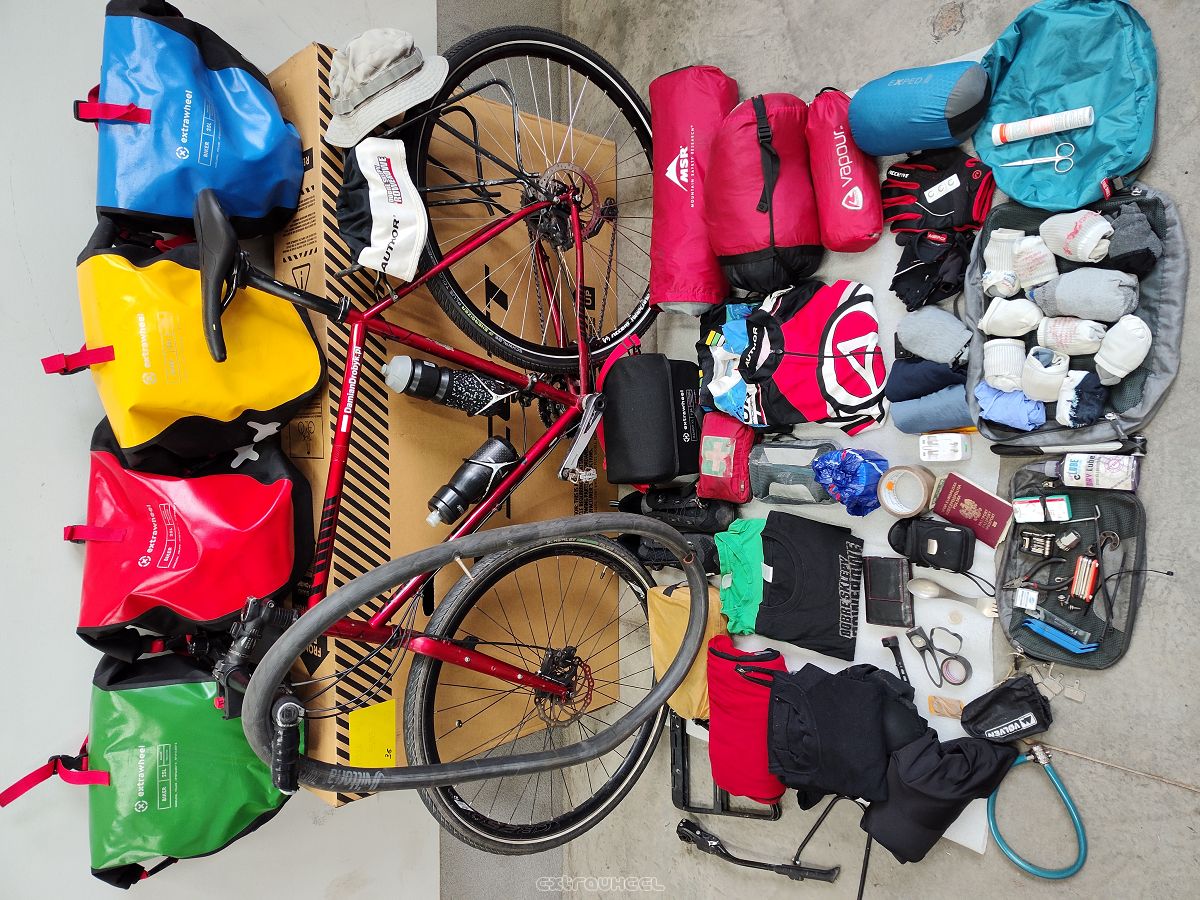
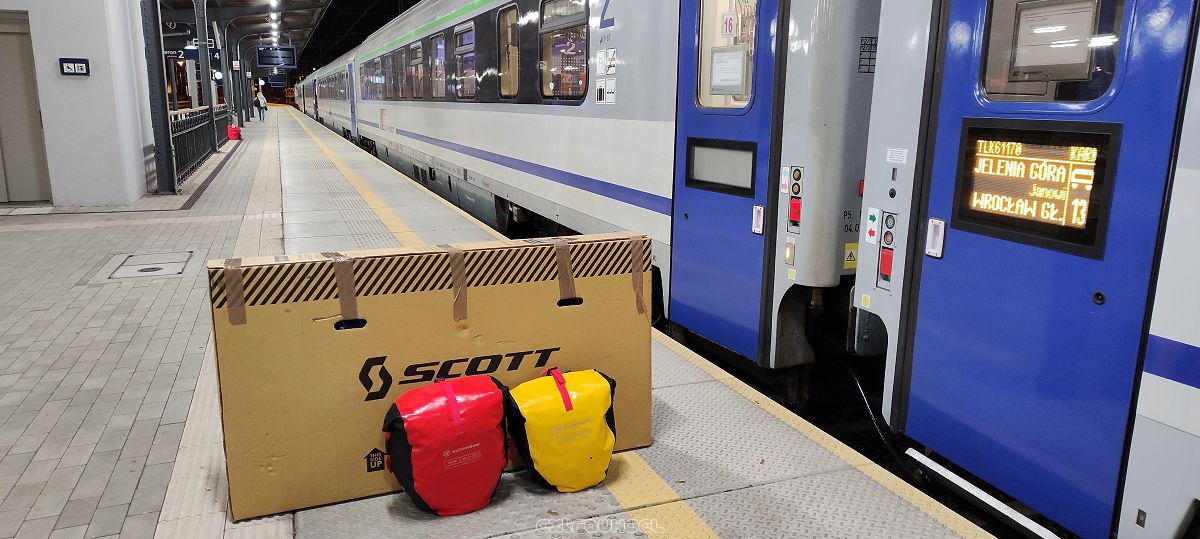
A bicycle tour begins long before the first kilometre. You need to plan the route, prepare the bicycle, check your equipment, decide how to carry your luggage and take care of documents and safety. The longer and more demanding the journey, the more important it becomes to test the complete setup beforehand.
This guide is based on the experience of Damian Drobyk – a bicycle traveller who has been using Extrawheel equipment since 2010. A long-standing relationship and shared experience gradually developed into regular testing of our panniers, bags and luggage systems during real-world journeys. Damian travels extensively by bicycle, so his observations are based not on short tests, but on many years of using equipment in different conditions and on demanding routes.
This is not a packing list that has to be copied item by item. It is a collection of practical principles developed through experience on the road and intended to be adapted to your own bicycle, destination and style of riding.
How to plan a bicycle touring route
Start by defining the type of journey you are planning. A few days on paved roads require different preparation from a gravel route, while a multi-week journey through mountainous regions and areas far from larger towns presents another set of challenges.
Before departure, consider:
- your expected daily distance,
- the type of road or trail surface,
- total elevation gain and the character of the terrain,
- opportunities to replenish water and food,
- availability of accommodation or places to camp,
- distances between towns and bicycle repair services,
- possible alternatives for shortening or changing the route.
Do not plan every day at the absolute limit of your abilities. Wind, rain, heat, mechanical problems, poor surfaces or simple fatigue can significantly change your pace. A well-planned route leaves room for changing the plan.
Navigation, maps and a backup plan
A smartphone, GPS bike computer or dedicated navigation device makes route finding much easier, but on a long journey it is better not to depend on a single device and a single source of power.
Before departure, it is useful to:
- download maps for offline use,
- save the planned route or GPX track,
- check alternative roads and transport options,
- mark larger towns, shops, accommodation and repair services,
- carry an additional source of power for your phone or navigation device.
On more remote routes, an offline map can be more valuable than a permanent internet connection. Electronics are extremely useful, but a device failure should not leave you unable to navigate.
Fitness, health and a test ride
Before a longer tour, it is worth completing several full-day rides on the bicycle you intend to use. Fitness is only one part of preparation. Test rides also allow you to check your riding position, saddle, handlebar setup, footwear, luggage mounting and access to items needed during the ride.
The best equipment to take on a bicycle tour is equipment that has already been tested in practice. A new saddle, shoes, pedals, bag or completely different luggage configuration should be tested before a multi-day journey.
If your route passes through regions with specific health requirements, check the current guidance for each destination, including information about required or recommended vaccinations. If you have a medical condition, are receiving treatment or have concerns about your health, discuss preparations for a demanding journey with an appropriate healthcare professional.
Documents, insurance and international travel
Entry requirements, required documents and security conditions can change. Before every international trip, check current official travel advice for all countries on your route. EU travellers can use the European Commission's travel advice portal to reach the guidance issued by the relevant national foreign ministries. Travellers from other countries should consult the official foreign ministry or consular service of their home country.
Before travelling, check:
- the validity of your passport or identity document,
- current entry conditions and any visa requirements,
- official travel warnings and security advice,
- the scope of your travel insurance,
- cover for rescue and medical transport,
- cover for equipment and luggage if this is important to you.
EHIC does not replace comprehensive travel insurance
If you are eligible for the European Health Insurance Card (EHIC), it can provide important protection during a temporary stay in participating countries, but its scope is limited. It gives access to medically necessary, state-provided healthcare under the conditions that apply to people insured in the country you are visiting.
EHIC does not automatically cover every cost associated with an accident during a bicycle tour. In particular, rescue services and medical repatriation may require separate insurance. Before a long or demanding journey, check the scope of your additional travel insurance.
Long international tours: official travel advice and consular registration
When travelling through several countries, check official travel advice regularly. EU citizens can use the European Commission's travel advice directory to find the relevant national authority. If your home country provides a traveller-registration or consular-alert service, consider registering a longer trip so that official information can reach you more easily during a crisis.
How to prepare your bicycle for a tour
There is no single ideal “touring bicycle”. The right choice depends on the surface, route length, amount of luggage and individual preferences. Long-distance travellers use touring, trekking, gravel and mountain bikes.
More important than the category printed on the bicycle is whether the particular bike is comfortable, mechanically sound and suitable for the route you intend to ride.
Before the tour, check:
- the condition of the tyres and whether they suit the expected surfaces,
- the brakes,
- the drivetrain and chain,
- wheels and spokes,
- bearings and steering components,
- rack mounting points,
- lighting,
- a comfortable riding position.
The bicycle should be prepared as a complete system together with the luggage. Only after mounting and packing the panniers can you properly check how the loaded bicycle behaves when starting, braking, climbing and being pushed by hand.
Panniers and the luggage system for a bicycle tour
The way you carry luggage should match the route and the amount of equipment. In traditional cycle touring, luggage is commonly carried in bicycle panniers mounted on the rear rack and often on a front rack as well. With less equipment, a lighter setup may be sufficient, while longer or more demanding journeys may require additional luggage capacity.
Before buying panniers, check not only their capacity but also whether the mounting system is compatible with your rack. We explain this in detail in our guide to bicycle pannier and bike rack compatibility.
If you are still deciding which capacity and construction will suit your needs, see our guide on how to choose bicycle panniers.
Which panniers have I used on my journeys?
I have been using Extrawheel equipment since 2010. At first, I simply used it on my own journeys. Over time, with more expeditions and thousands of kilometres ridden with luggage, I also began regularly sharing feedback with Extrawheel about functionality, mounting and how the equipment performs in real-world conditions.
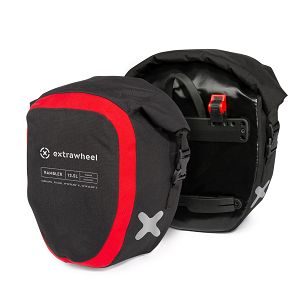
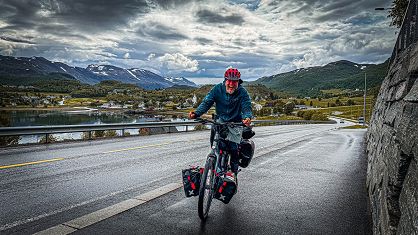
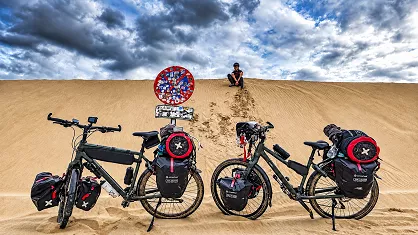
During my solo journey through South America in 2018 and 2019, I used Extrawheel Wayfarer 2 × 25 L panniers on the rear rack and Rambler 2 × 12.5 L panniers at the front. This setup allowed me to distribute equipment between the front and rear of the bicycle and organise my luggage during a multi-month journey through the Andes.
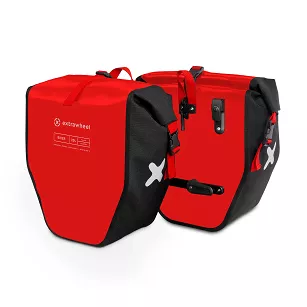
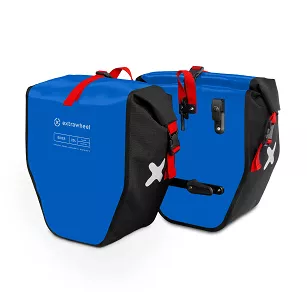
My setup changed with subsequent journeys. While preparing for Andes Expedition 2025, I used Rider 2 × 15 L panniers at the front and Biker 2 × 25 L panniers at the rear, among other equipment. Additional capacity was provided by a trailer with large Classic bags, while a Handy XL bag was fitted to the handlebar.
The model names in this section refer to equipment actually used on specific journeys and do not represent the current Extrawheel product range.
From experience, I know that pannier capacity is not the only important factor. Mounting stability, correct weight distribution, easy access to essential items and the way the panniers are closed in poor weather all matter as well.
A repeatable organisation system becomes particularly valuable on a long journey. After a few days, you know exactly which pannier contains the cooking equipment, where your warm clothing is stored and from which side you can reach your tools.
We explain luggage distribution in more detail in our guide on how to pack bicycle panniers properly.
Rain and protecting the contents
On a multi-day tour, panniers have to deal with more than one short rain shower. You may ride for hours in rain, encounter mud and spray from the wheels and open your luggage repeatedly during a wet stage.
For this reason, the construction of the joins and the closure matter alongside the material itself. Even a well-made bicycle pannier has to be used correctly and closed according to its instructions. You can read more in our guide to pannier waterproofing.
Handlebar bag and quick-access items
On earlier journeys I also used an Extrawheel Handy handlebar bag. This type of bag was particularly useful for items that I wanted to keep within easy reach.
A handlebar bag can be used for items such as:
- documents,
- a wallet,
- a phone,
- a small camera,
- glasses,
- snacks and small items used during stops.
The main advantage of this type of bag is not simply its capacity, but accessibility. When you stop, you do not have to open the main panniers, and when leaving the bicycle you can take the most important items with you.
Current solutions of this type are available in our handlebar bags category.
Additional luggage: dry bag or trailer
If the panniers do not provide enough space, one simple way to increase capacity is to carry lightweight but bulky equipment in a bag secured to the top platform of a suitable rack.
This can be a useful place for a tent, sleeping bag, clothing or other equipment that does not need to occupy the lower part of the panniers. A separate bag can also keep a wet tent away from the dry contents of the rest of your luggage.
Suitable dry bags can be used for this purpose. Always secure them correctly and make sure that no straps can hang down towards the wheel.
My experience with an Extrawheel trailer
On some journeys I also used a single-wheel Extrawheel trailer. It provided an alternative to carrying all the luggage directly on the bicycle and was useful when I needed considerably more transport capacity.
A trailer is a different system from conventional bicycle panniers. It changes the overall length of the setup, affects manoeuvring and changes the way luggage is organised, so it should also be tested fully loaded before a long journey.
Lights, mudguards and other equipment
Mudguards
Mudguards become particularly useful during multi-day riding in wet conditions. They reduce the amount of water and dirt thrown from the wheels onto the rider, panniers and bicycle components. They are not essential for every setup, however, and their usefulness depends on the bicycle and the type of route.
Lighting
Front and rear lights are useful for more than riding after dark. During a tour you may encounter rain, fog, tunnels or an unexpected delay that causes a stage to finish later than planned.
When travelling through several countries, check the local legal requirements for mandatory bicycle equipment before departure.
Kickstand
With a heavily loaded bicycle, finding a safe place to lean the bike is not always easy. I personally appreciate a strong kickstand, but whether one is suitable depends on the bicycle, rack and permitted load of the particular model.
Pedals and shoes
I have also used SPD pedals on my journeys. Some cyclists find them very convenient, while others prefer platform pedals. The important point is that shoes, pedals and riding position should all be tested on longer rides before departure.
Music while riding
Music can make long and monotonous sections more enjoyable, but it should not reduce awareness of your surroundings. In traffic, at junctions and in situations requiring particular attention, being able to hear vehicles and other warning signals is more important than entertainment.
Power for electronics
Phones, navigation devices, lights and other electronics require a charging plan. Depending on the nature of the journey, this may mean a power bank, charger, spare batteries for compatible devices or regular charging opportunities along the route.
Before departure, check how much energy your equipment actually uses during a typical day rather than relying only on manufacturers' stated battery-life figures.
Bicycle servicing before departure
A long bicycle journey is not the right time to find out whether a heavily worn component can survive another few hundred kilometres. Check the complete bicycle and carry out any required servicing sufficiently early to leave time for a test ride afterwards.
The inspection should include:
- brakes and brake pads,
- chain, cassette and other drivetrain components,
- tyres,
- wheels and spokes,
- bearings,
- gears and derailleurs,
- the rack and its bolts,
- pannier mounting components,
- lighting.
After servicing, load the bicycle fully and take a test ride. Only then can you assess the complete setup under conditions similar to those you are likely to encounter while travelling.
Safety and a trusted contact at home
On longer solo journeys, having a trusted person at home can be extremely useful. I sometimes refer to this person as my “expedition engineer”.
This person can know the general route and assist when internet access is limited or something unexpected happens on the road. They may be able to help find accommodation or transport, pass information to family members or locate contact details for an embassy or consulate.
Before departure, consider giving a trusted person:
- your planned route and its main stages,
- approximate dates,
- contact details,
- information about your insurance,
- the agreed method of contact in an emergency.
Securing the bicycle and luggage
Even on a journey spent mostly outside large cities, the bicycle may need to be left outside a shop, station, restaurant or accommodation. Carry security appropriate to the way you travel and avoid leaving documents, your phone or wallet unattended in an easily accessible bag.
Helmet and local regulations
A helmet is an important item of protective equipment, particularly when riding with additional luggage and on fast descents. When travelling abroad, also check current local rules concerning bicycle equipment and road use.
Final checks before departure
A few days before departure, carry out a final check of the complete setup:
- the route and offline maps are saved,
- your documents are valid,
- entry requirements for all countries have been checked,
- your insurance matches the nature of the journey,
- the bicycle has been inspected and tested after servicing,
- the rack and panniers are securely mounted,
- the luggage weight has been distributed sensibly,
- the lights work,
- electronics and power sources have been tested,
- a trusted person knows the basic travel plan,
- you have completed at least one test ride with the full luggage load.
Bicycle touring – experience is part of the preparation
It is impossible to predict everything. That is part of what makes bicycle travel an adventure. You can, however, reduce the number of avoidable problems by preparing the bicycle, luggage and your own plan of action in advance.
With every journey, the equipment setup usually becomes simpler. You begin to understand which items you really need, where they are best packed and which solutions work for your own style of travel.
For me, the most important things remain: a proven bicycle, familiar equipment, a sensibly planned route, well-organised luggage and a willingness to change the plan. That is more valuable than trying to prepare for every possible situation.
Author: Damian Drobyk
Bicycle traveller and long-term tester of Extrawheel equipment. He has used Extrawheel products since 2010 and, through numerous demanding bicycle journeys, has become one of our most experienced real-world users. His observations and experience from the road are used when assessing the functionality of Extrawheel panniers, bags and bicycle luggage systems.
 Polish
 German
 French